georgia-market.com moderated newsgroup and market bazzar > Albany
> Industrial
> Heavy Industrial
> Partek fg series heaters 3/8", 1/2", 3/4" with case
Partek fg series heaters 3/8", 1/2", 3/4" with case
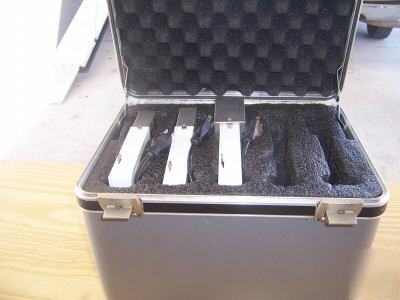
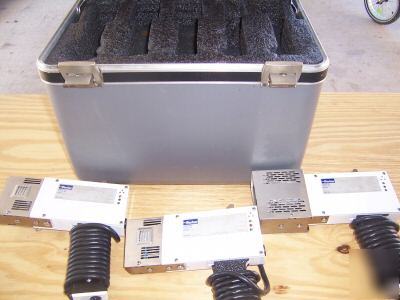
FG Flare Guns for sizes, 3/8", 1/2", and 3/4" and storage case as seen in pictures.
Here is some info on the products.........
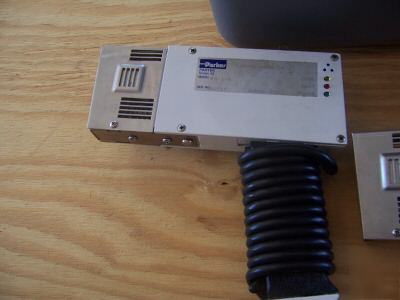
The Partek FG Series automated flare gun is designed to flare tubing perflectly, every time. It is ideal for connections that need to be made in clean rooms, in equipment cabinets or other hard to reach places where conventional flaring tools are not suitable. The complete process of heating, flaring and cooling is all contained within the gun. Compact, portable and easy to use, the gun is offered in 5 sizes, 1/4†to 1â€.
Tubing snaps into jaws of the flare gun.
Holds tubing so that mandrel travel depth is consistent.
Indicator lights on the flare gun guide the operator during the heating, flaring and cooling operations.
Perfect flare every time reduces potential leaks and downtime.
Compact and portable, it is offered in 5 sizes, 1/4†to 1â€.
Ideal for working in areas where space is limited. Faster set up of new equipment is possible.
P380° F to 420° F (193° C to 216° C) for 17-20 seconds
There are many advantages to making connections with flared fittings. The flared fitting is the cleanest breakable connection available because of its low dead volume. This decreases the chance for particle entrapment in the fitting. From the cross section it is evident that the tube is supported on the inside. This prevents the tubing from ovalizing or bottoming out, therefore allowing the flared fitting to perform well in vibration and side loading applications. There are two different ways to flare tubing. The first is manually by hand and the second is the Partek Flare Gun.
1. Push lever to the most forward position.
2. Squeeze trigger 12 to 14 times to reset the mandrel to the start position.
3. Move top lever to the most rear position.
4. Insert the correct sized tubing.
5. Click trigger until resistance is lost.
6. Plug in tool and put the lever in the center position.
7. After 30 seconds you will hear a beep.
8. Rachet the until resistance is felt and note the amber LED coming on to indicate that cooling has begun.
9. After this light goes out, move the lever into the most foward position.
10. Remove the flared tubing.